Explore our IP Address Database Downloads for instant access to our IP address insights
Learn morePlot The Geolocation Of Your Web Visitors On An Auto-Updating Map

We continue the series of blog posts written by cybersecurity folks, analysts, developers, and other industry professionals. This blog post is written by Luke Stephens (@hakluke), a cybersecurity professional and IPinfo friend.
Watching text logs is cool, but you know what's even cooler? Watching the geolocation of your website visitors on a map. In this article, I'm going to teach you how to make viewing logs feel like you're sitting in the CIA headquarters tracking down a global criminal network.
IPInfo offers a free "map report" which can plot accurate geolocations of up to 500,000 IP addresses on a single map. It looks something like this:
Wouldn't it be cool if we could set up a screen that automatically updates, adding new geolocations to the map as more people visit your site? Then you could mount the screen to a wall, dim the lights, don a black hoodie, switch on dark mode, and turn on your flashing multi-colored mechanical LED keyboard. Pew pew!
In this article, we're going to set up a hacky (but functional) solution for pulling IP addresses out of my web server logs, and then plotting them on a map using the IPInfo CLI tool.
Setting Up Your SSH Keys
First things first - we need to grab the logs from the web server. This is a relatively simple task using SCP. SCP stands for "Secure CoPy", it is a tool that allows file transfers over SSH connections.
The first step is ensuring that the SSH connection can open without needing credentials. We want to build a script that can pull down the log files at regular intervals, so we don't want to need to enter credentials every time!
SSH allows authentication without credentials by using keypairs. To generate our keypair, we just run ssh-keygen from the CLI and follow the prompts. It should look something like this:
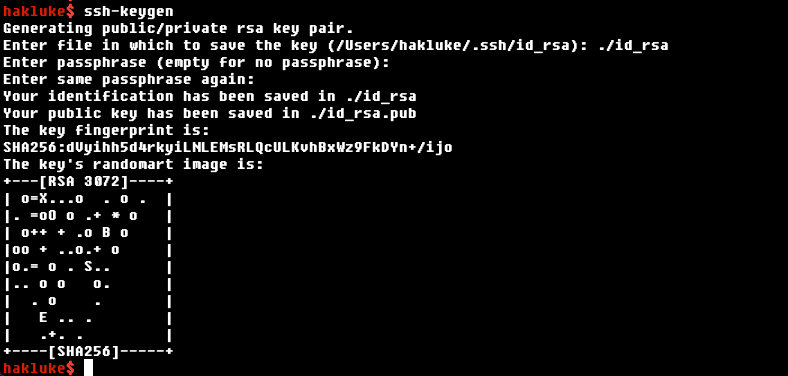
You will now have generated an id_rsa file containing your private key (keep it secret, keep it safe), and a corresponding public key.
Put the private key in ~/.ssh/id_rsa on your local machine, and add the public key to ~/.ssh/authorized_keys on the web server. If you set a passphrase for the key, you'll also need to run ssh-add, which will add your passphrase to ssh-agent, so that you won't be prompted for the passphrase every time you want to use it on this computer.
You should now be able to log in to the web server just by typing ssh user@host, without entering any passwords 👌. Onto the next step!
Downloading and Parsing the Server Logs
I'm using Apache2 as my web server, and the access logs are located at /var/log/apache2/access.log. I can download the web server logs to my local machine by simply executing:
scp root@host:/var/log/apache2/access.logEach log entry in the file is a new line, that contains some details about the request such as the visitor's IP address, the date/time of the request, the endpoint that was requested, and the visitor's user agent:
123.123.123.123 - - [30/Aug/2022:11:39:42 +0000] "POST /xmlrpc.php HTTP/1.1" 301 5790 "-" "Mozilla/5.0 (Windows NT 10.0; Win64; x64) AppleWebKit/537.36 (KHTML, like Gecko) Chrome/100.0.4896.127 Safari/537.36"
In this case, we're only really interested in the IP address. To print just the IP addresses, we can use the cut command from coreutils like this:
cat access.log | cut -d" " -f1This will return all of the IP addresses in the log file, but there will be many duplicates. To remove the duplicates we can use sort.
cat access.log | cut -d" " -f1 | sort -uInstalling the IPInfo CLI tool
A while back, we released a free, open source CLI tool for querying the IPInfo API (among other things). You can find the tool on GitHub. The installation instructions are on the readme page, but to summarise:
Exploring the IPInfo CLI features
Once you have the CLI tool installed - it's not a bad idea to check out what it is capable of! There's a good chance you'll use it for things other than creating geolocation maps. For example:
- Looking up details of an IP address
- Looking up details of an ASN number
- Summarizing data of a group of IPs
- Converting IP CIDR ranges to a list of IP addresses
- Converting CIDR to ranges
- Grepping IPs from any source
- More!
The feature we'll be using today though, is the map feature. You simply pass a list of IP addresses to the CLI, it will generate a map with those IP address geolocations plotted on it, and open that map in your default browser. Neat, huh?
To test it out, let's run a simple command:
~$ echo 1.1.1.1 | ipinfo map
https://ipinfo.io/tools/map/da1e6ee5-d8d2-4ecb-9553-a837449a5098
~$
I passed 1.1.1.1 in, and it opened the following map:
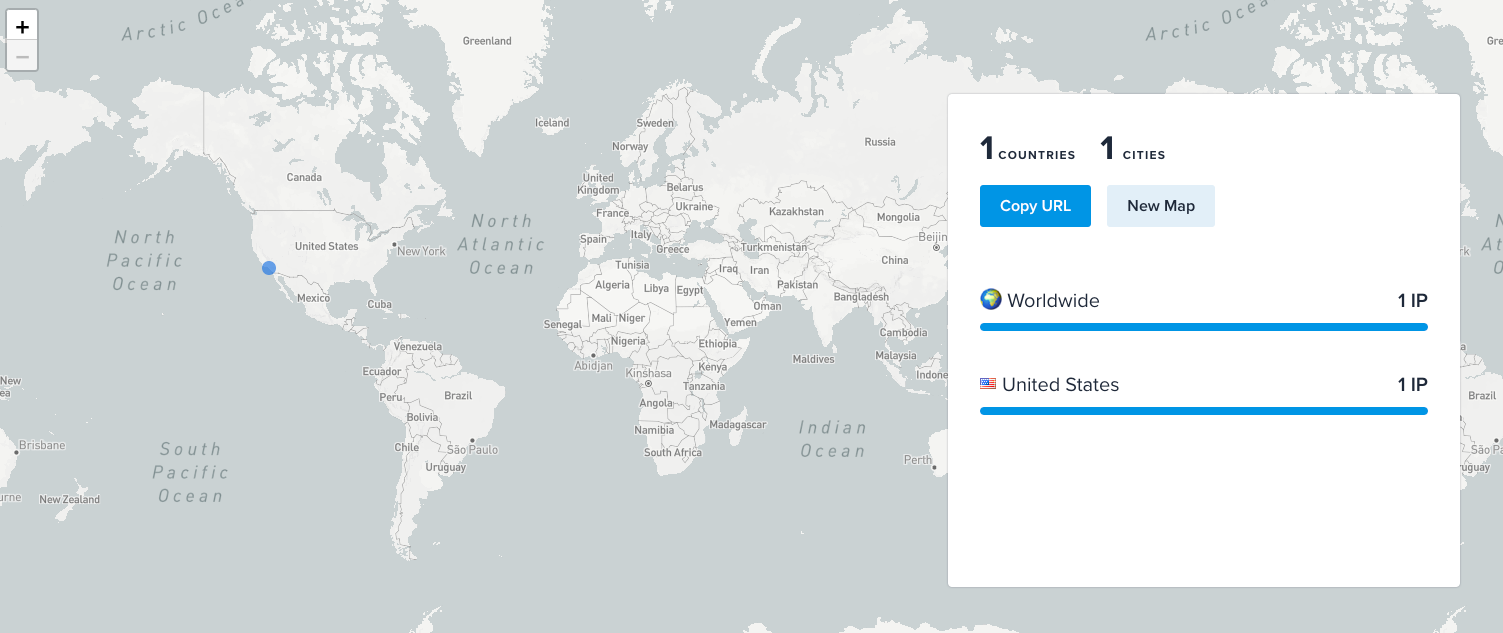
Nice!
Chaining it all together
Now we have a way to pull the logs from the server, isolate IP addresses, and plot IP addresses onto a map, we just need to chain it all together!
scp root@haklukecom:/var/log/apache2/access.log .; cat access.log | cut -d" " -f1 | sort -u | ipinfo mapThe snippet above will pull the access log from the web server, isolate IP addresses, deduplicate and then send them to the IPInfo CLI for mapping! Here's the result:
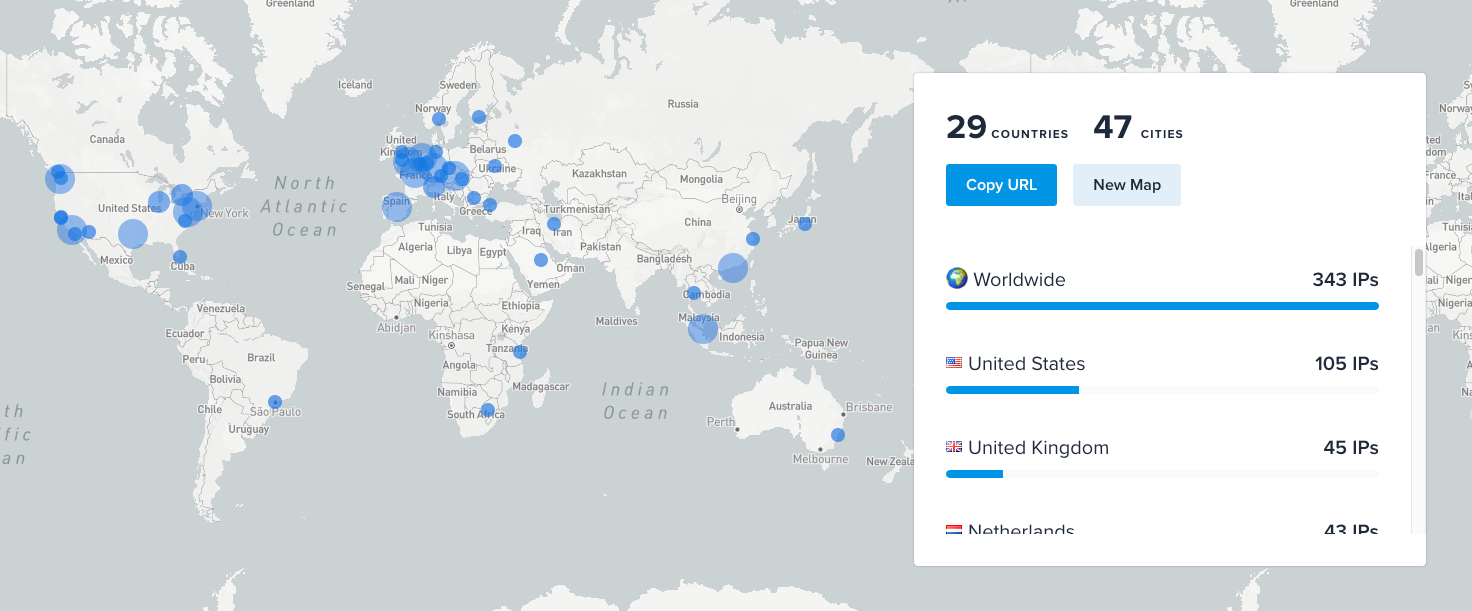
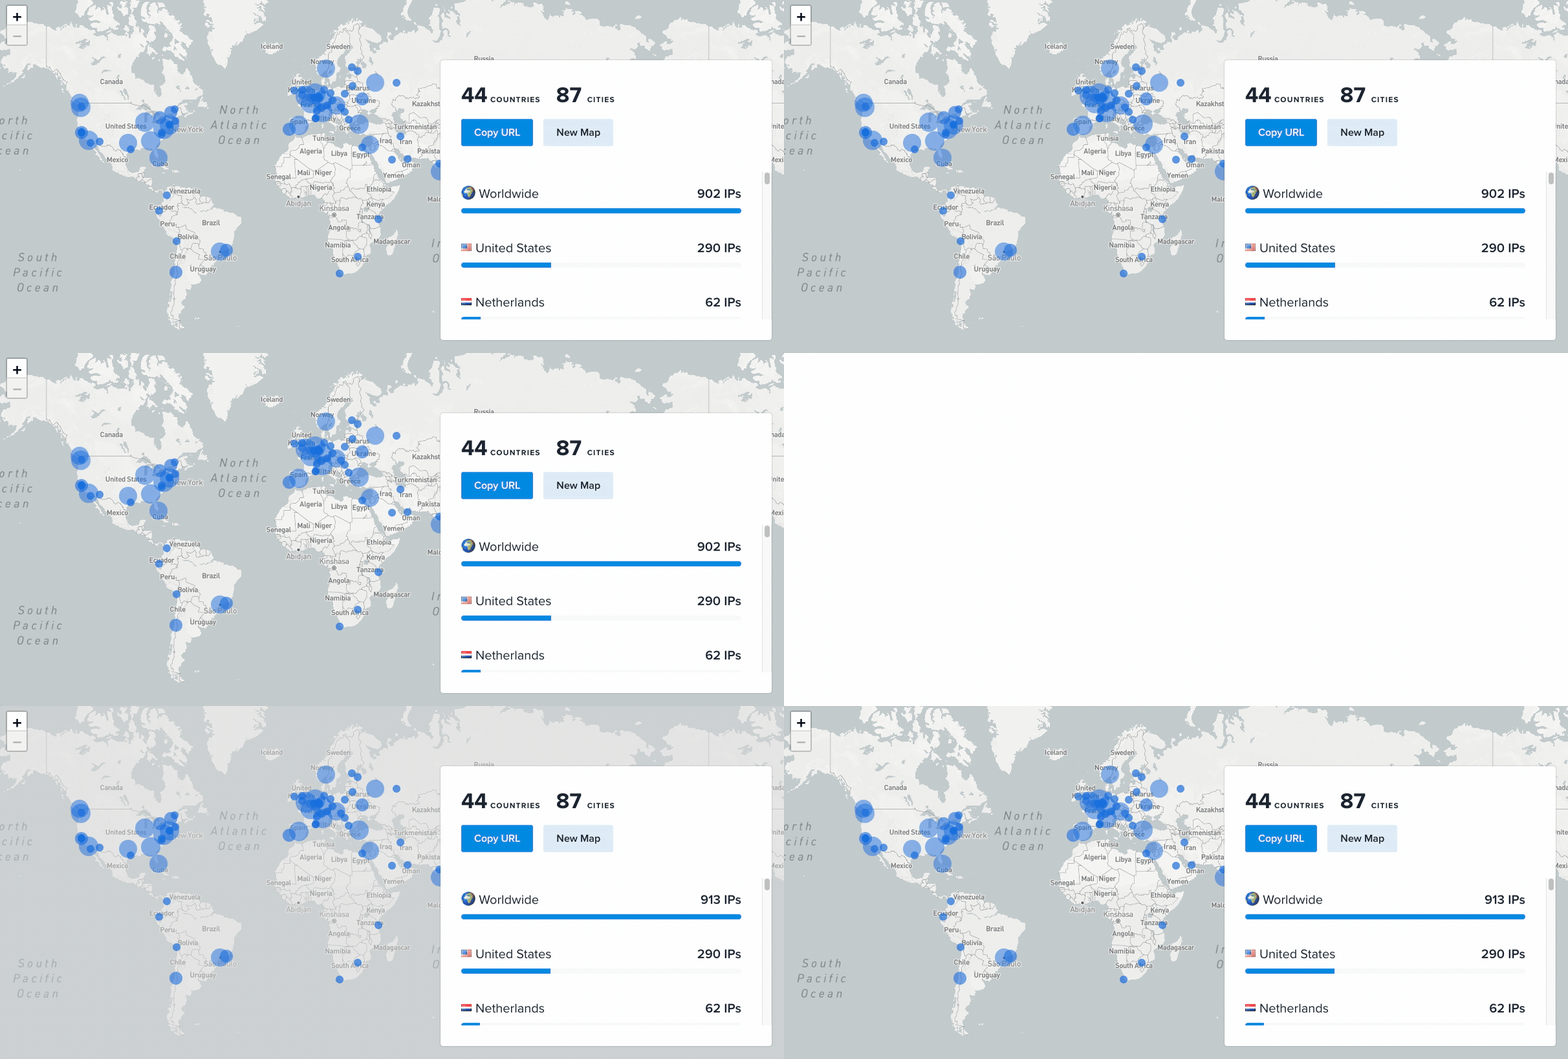
Nice! The next step is to make it update automatically. To do this we could simply add the command into a bash loop, and sleep for 10 seconds before the loop restarts:
while true; do scp root@haklukecom:/var/log/apache2/access.log .; cat access.log |cut -d" " -f1 | sort -u | ipinfo map; sleep 10; doneThere's just one problem with this method - it will open a new browser tab every 10 seconds, and not close the old one. By my calculations, if you leave this running for a day, you'll end up with 8,640 tabs open. At this point your computer has probably come to a standstill and burned a hole in your desk, so there is a hacky solution. We can install a Chrome extension that only allows one tab to be open per domain.
Once I installed this, I set it up as follows:
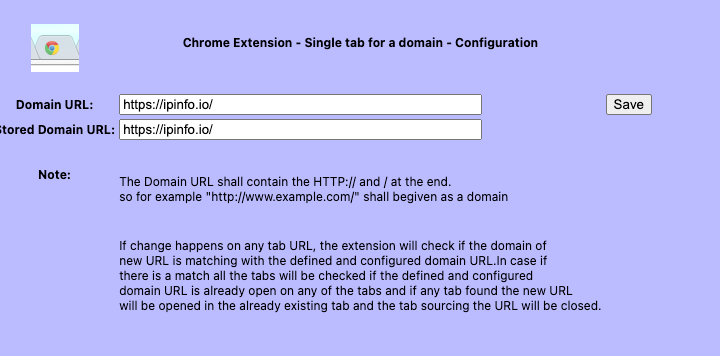
Now, old tabs will automatically close, and the current tab will update with the new stats every 10 seconds. It will look something like this:
Conclusion
Admittedly, this is a very hacky way of auto-updating the map. In a production environment, you probably wouldn't want to do it this way, but hopefully, this article has served as a good educational piece and demonstrated the power of the IPInfo CLI tool with our data.
The next step is mounting your screen to the wall, but we'll leave that as an exercise for the reader!
About the author

Internet Data Expert